I love how they stamp, because I also do art journaling. And I just love how sometimes the ink does not catch the whole image. It gives the image an nice look. You can always make sure that the foam gets enough ink, if you want an intricate and very detailed stamped image.
My rule: use what you already have at home;-) We have a lot at home to make certain things we need.
What you need:
- an embossing machine; I have a Sizzix Big Shot, but any other brand will do.
- die cut(s); of your preference (your choice).
- sheet of foam.

OR:
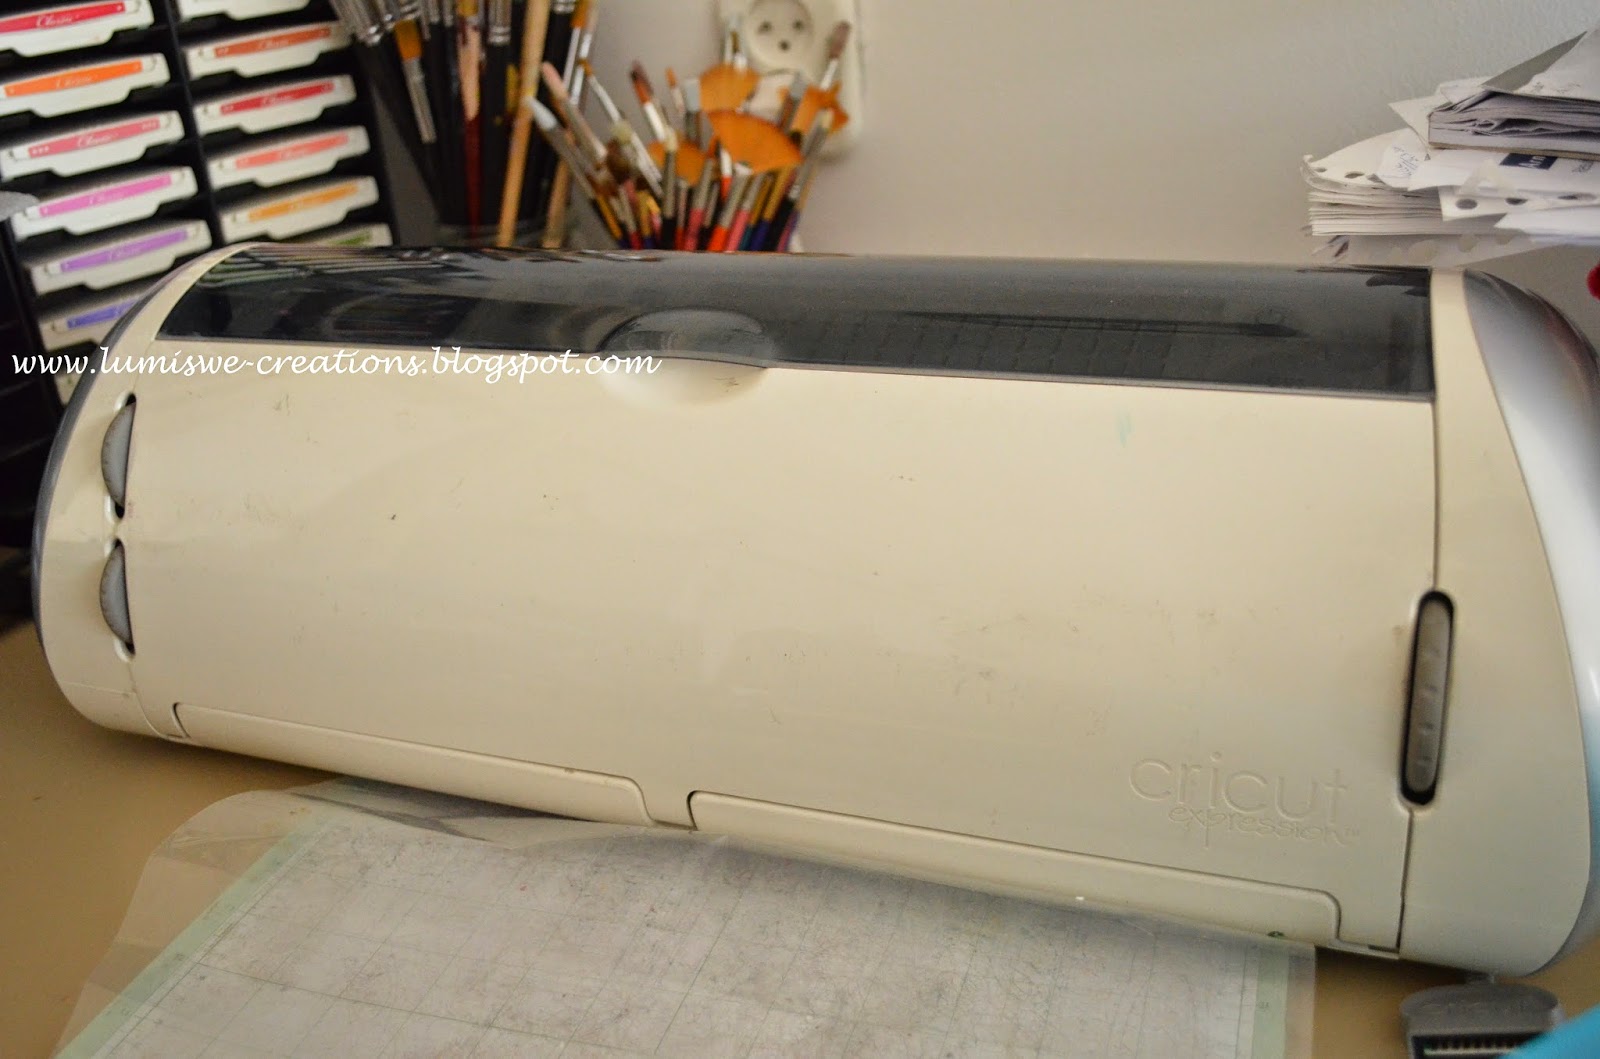
- a cutting machine; I have a Cricut Expression; any other brand will do.
- cartridges or digital images; of your preference (your choice)
- sheet of foam.
You will need one or the other machine, but you can also do it with scissors. If you have both machines, that would be awesome, because you could do either way. The more intricate the image, the harder it will be to cut the image with scissors.
How: cut the image and your stamp is created. Don't emboss the image, because it will be hard to get a good ink stamped image on paper. The embossing machine will flatten the foam, but that is not a problem. In fact, I like how the embossing machine flattens the foam.
My feather and egg foam stamp

The back of the foam stamps

Storage: I cut a pieces of double sided tape and adhered these on the back of my foam stamps. Yes, it will hold. Then I damped the back of the foam stamps on a cloth, to make it less sticky. Voila, your stamp is ready to be stored like your rubber stamps and acrylic stamps. Not difficult at all ;D
Another tutorial about DIY foam stamps: here.
Enjoy your Sunday and let me hear what you do as an alternative to buying more and more.
Thank you so much for sharing this tutorial. I would love to have some foam stamps of my cricut alphabet letters. I may end up giving this a try. Thanks for sharing!!
ReplyDeleteMaggie (swap-bot) soyprincesa2
That moment when you hear about a new technique and know for a fact it's the first thing your gonna do when you sit back down at your craft desk....yea, that's what I just got from this post....too bad it's 11pm and I have to go to bed;) (thevmatt on Swap-bot)
ReplyDeletehow do you know which side you ink? this is a very intriguing ideal.
ReplyDeletebluecrayons-swapbot
@Rhonda Helm You just have one side of the foam stamp inked and the other side will stay clear:)) Thank your for visiting:)
ReplyDelete