Wednesday, April 30, 2014

Spring art journal page

For the Mini handmade Art Journal #9
Art journal from Ukraine
Sending to: United Kingdom


Ingredients: gesso, tissue paper, acrylic paints, water, sweetpea rubber stamp, Copic multi liner, Unis Signo ball white gel pen, acrylic stamps, alpha stickers, Stampin' Up markers and white pencil.

Sunday, April 27, 2014

Circle card

My last post for today is a circle card.

Used: card stock, Art Philosophy cartridge, glitters, Spellbinders die cut, acrylic stamp and Viva décor pearl pen.


Cute little tag

It is a beautiful Sunday and I decided to make two cards. I came up with the swap to make a card using a cute little tag on the card. For the rest the card is sender's choice. I used the Close To My Heart cartridge 'Art Philosophy' and I choose to cut the card base, a butterfly and a tag. Some months ago I coloured this sweet image from lacysunshine.weebly with Copic markers. The purple card stock is from Stampin' Up.


Tutorial: foam stamps

In my last post I told you about the stamps I made using sheets of foam. These are clearly home made stamps. So this will be a quick tutorial to learn you how I made these foam stamps. Foam makes a good quality of stamps and it is a fantastic addition prior to buying all stamps. Use and clean foam stamps as you do with your rubber and acrylic stamps.

I love how they stamp, because I also do art journaling. And I just love how sometimes the ink does not catch the whole image. It gives the image an nice look. You can always make sure that the foam gets enough ink, if you want an intricate and very detailed stamped image.
My rule: use what you already have at home;-) We have a lot at home to make certain things we need.

What you need:
  • an embossing machine;     I have a Sizzix Big Shot, but any other brand will do.
  • die cut(s);                          of your preference (your choice).
  • sheet of foam.


OR:
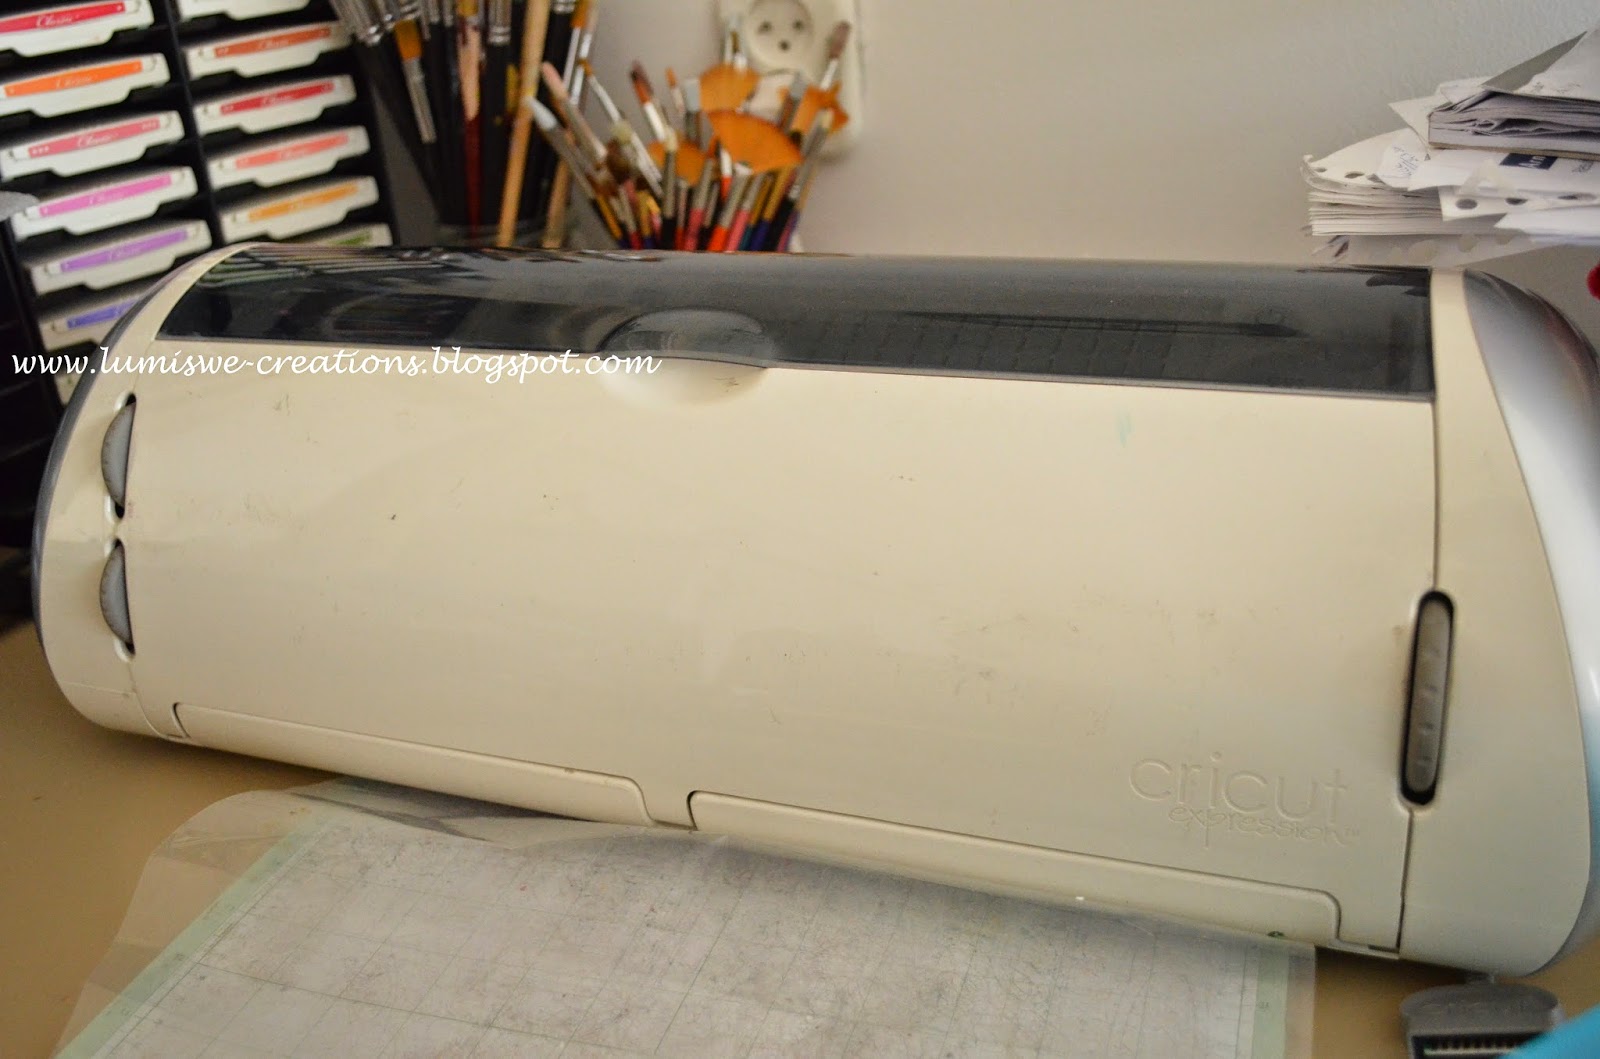
  • a cutting machine;                  I have a Cricut Expression; any other brand will do.
  • cartridges or digital images;    of your preference (your choice)
  • sheet of foam.


You will need one or the other machine, but you can also do it with scissors. If you have both machines, that would be awesome, because you could do either way. The more intricate the image, the harder it will be to cut the image with scissors.

How: cut the image and your stamp is created. Don't emboss the image, because it will be hard to get a good ink stamped image on paper. The embossing machine will flatten the foam, but that is not a problem. In fact, I like how the embossing machine flattens the foam.

My feather and egg foam stamp

 
The back of the foam stamps
 
 
Storage: I cut a pieces of double sided tape and adhered these on the back of my foam stamps. Yes, it will hold. Then I damped the back of the foam stamps on a cloth, to make it less sticky. Voila, your stamp is ready to be stored like your rubber stamps and acrylic stamps. Not difficult at all ;D

Another tutorial about DIY foam stamps: here.

Enjoy your Sunday and let me hear what you do as an alternative to buying more and more.

Monday, April 21, 2014

12 Tags of 2014 - March

Decorated tag made with manila tags following the Tim Holtz techniques. I improvised on almost all tools. The feather stamp and the egg stamp were made today using a die cut in my Big shot and cutting with the Cricut Expression using the Art Philosophy cartridge. To make these stamps I used sheets of foam. You can make good stamps with foam.

For the spots on the egg I used a rubber stamp from Rubbernecker. Instead of the numbers I used rubber stamps of simple words or short one liners. I used my marker spritzer, which is not a Tim Holtz brand. I don't know the name of the brand by heart. The tag is a manila tag # 8 and I guess the only Tim Holtz products I used are two ink pads: Vintage photo and Weathered wood. All tools and products I already have, so no need to rush and buy any material.

Well, this is my tag for March 2014:)


Use your/a master board card

I came up with the idea to make handmade cards with the master boards I swapped a while ago. so I set up a swap. But what happened when I prepared to make the card? I could not find any of the master boards .... lol ... I had to make a master board for this swap. I hesitated, because I had no idea what card to make. Yesterday my mojo returned and I went for the vintage look, using rubber stamps I rarely use. And last week I bought these feather die cuts and I really wanted to use them;-0


Ingredients: index card, rubber stamps (Las Vegas), Distress ink vintage photo, die cuts, vintage ribbon, heart shaped button, card stock.
 
Have a nice day!♥

Rubber stamped note cards

Easy made note cards, made from scratch. These cards little note cards are of various sizes, but they are smaller than 4 inches. I have a few funny rubber stamps and I wanted to do some fun stamping. This is really fun rubber stamping with rubber stamps I rarely use ... lol.... Enjoy!


Spring Flowery handmade card

Spring is there! And don't we love how flowers bloom^-^
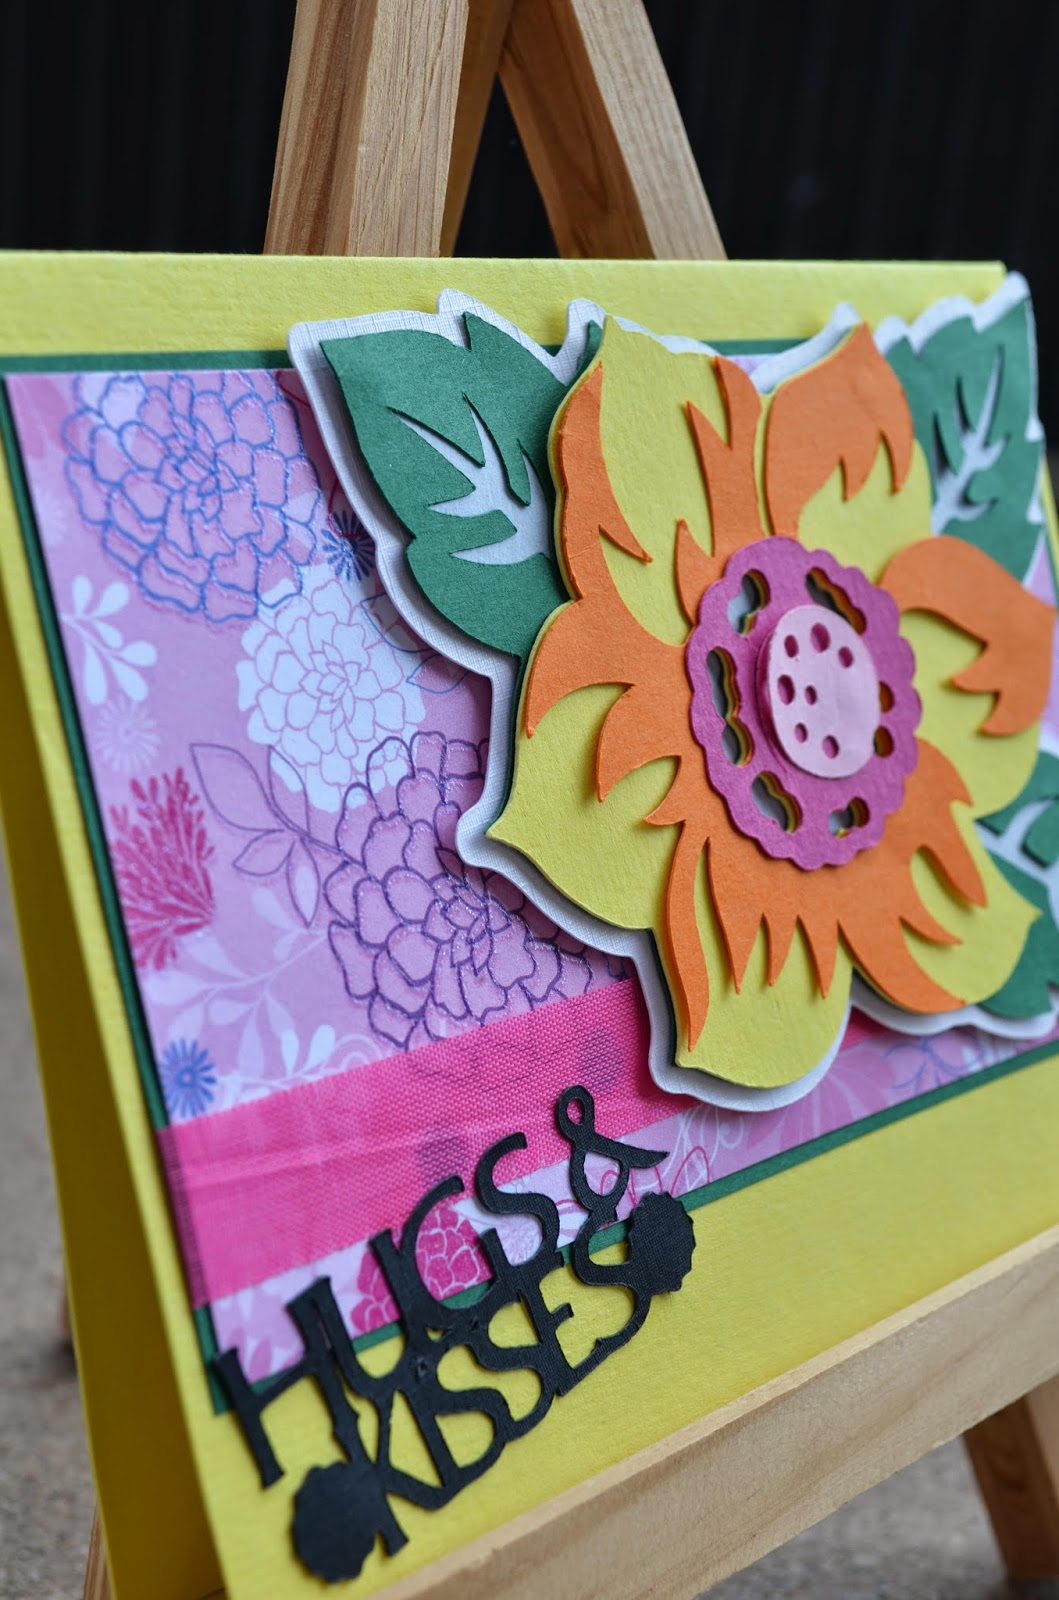
With the Florals Embellished cartridge I created the flower using the colours as shown in the handbook. Instead of the blue shadow I used with card stock for the shadow. The sentiment is also from the Florals Embellished cartridge.

For this card I used vivid colours to bring Spring alive:-) With some glitter in the centre of the flower and some 3D crystal Lacquer I finished this Spring card.


Now let us celebrate sweet Spring!♥

Sunday, April 13, 2014

Easter card

Be my Valentine card was never received/delivered. My partner suggested a Easter card, since Valentine is in the past. I like the idea and this is my Easter card. Destiny: Malaysia.


Halloween card

Created for the 12 Months of Halloween Card swap - April.

Cute note cards

Note cards for my partners in the "Random Acts of Happiness for a Jar" swap. These note cards are simple, but oh so cute;-)